

How to choose the Perfect Bridge
Hello and welcome back to my blog,
today we talk about choosing the right bridge for your instruments!
I've made already a few videos about it and I always find it an interesting topic, here and here you can find some past videos!
It happens quite often that people show up in my workshop and they just purchase a nice bridge and then they want me to put it on their instrument! Well, now I tell you a few points which have to be respected when doing so.
I am Edgar Ross violin maker from Criminal Italy and I make great instruments with really great bridges! I say that because I have several lines of instruments and all the different lines have to follow certain requirements when coming to the bridge, so I am really particular about it!
We have more or less Four Points which we have to go through, let's get started.
1. The model
The first one is choosing the bridge model for a violin. You could just say that all bridges are the same, but actually, depending on what instrument you have the bridge changes!
For example, let's say you have a cello. Here we already have one important choice: Belgium or French?
What you need to ask yourself is: what do you want the sound to be like? You like a beautiful sound, so you chose a French model, you like a little bit more focused sound, then you probably choose a Belgian bridge.
2. The material
The next thing actually is the material because it will depend on the grade of instrument you have: usually a lower graded instrument (we talk about less than 5000 Euro) is pretty sharp and focused in sound and in an instrument like this you would probably use a bridge which is a little bit softer.
Let's say from the Aubert for instance you wouldn't put on a treated bridge! I would use a plain bridge, which apparently looks the same as a deluxe one but actually it's a little bit softer. So, for a violin which is more focused a softer bridge is definitely better.
If it's a middle grade instrument then I would go to a lux line, while and if it's a master instrument I usually use the Deluxe Aubert. These bridges are treated and are taking everything out from an instrument!
You can understand that if you would put a deluxe bridge on a low grade instrument it would actually amplify this sharp focus sound which probably is not the great solution (and not the best to hear).
3. The measurements
Not that all the bridges are the same! They look the same to you, but they are not really equal.
In fact, if you have an instrument and you have to decide what kind of bridge to use, you have to measure the instrument and figure out where the bass bar is and finally decide what kind of bridge is the idle one!
Just for a reference, the bass bar should be 4mm inside the outer corner of a cello bridge; on a violin it's about 1/ 1.2mm; for a viola 1.5mm maybe more or less depending of he model and the length
Then you have to adapt the bridge, the feet, the height and everything else! You also have to make the arching in the two sides.
4. The curve
The right curve is crucial! Nowadays we have lots of information available for everybody: in a mouse click we can get every measurement, so there is no excuse anymore and not knowing the right inclination of a bridge.
When I started in violin making, 40 years ago, we didn't have all what we have nowadays!
Every bridge has to have the perfect curve which I would say is a standard: you can find the templates everywhere on the internet or in violin making supply shops.
With that said, I just want to focus a little bit more on this tool kit . When you see me on a trip I always have this plastic box with all my tools inside: a sound post setter, a small mirror, a sound post catcher, a light. Then we have these tiny gauces:

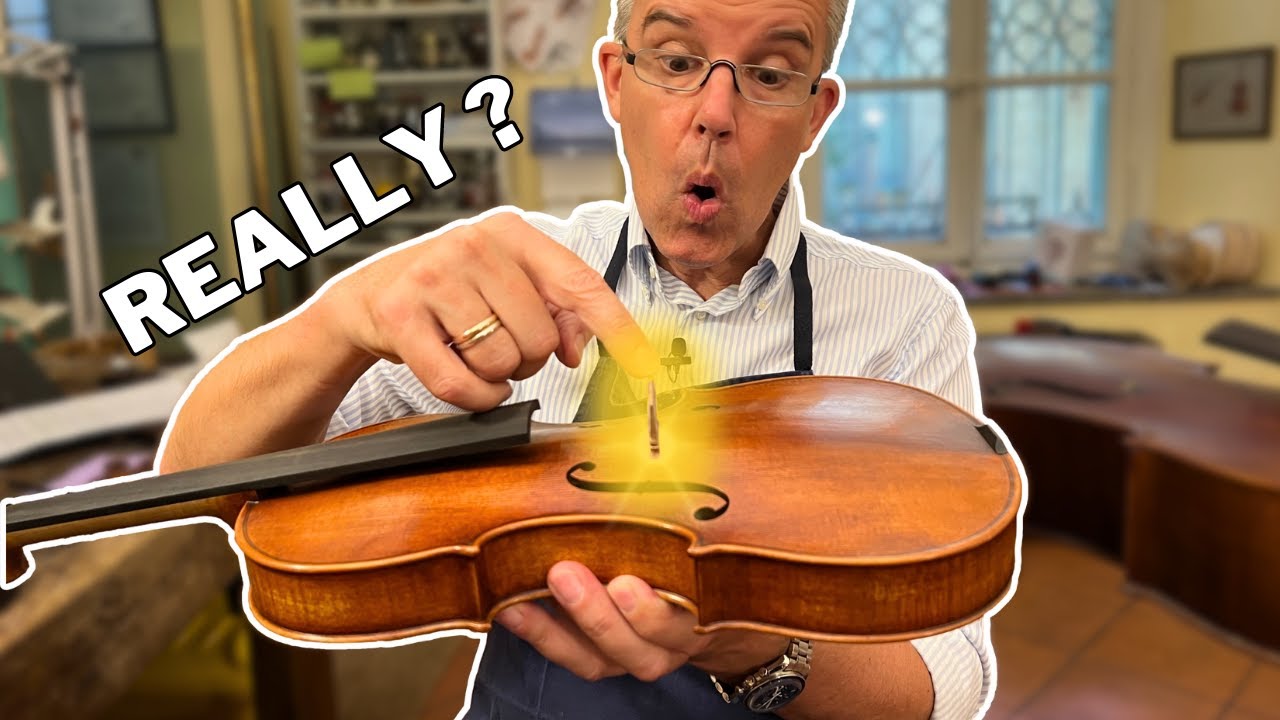
With this tool you can go inside one of the f-holes and then you can see where the bass bar is inside, comparing it to the edge of the bridge foot. To see me in action, look at this video here. If you do the same thing on the sound post side you can see exactly how far away inside it is located.
In case you see that one side is far more inside than, let's say 3-5mm, then it's a clear sign that you probably have a wrong bridge on your instrument!
So I think it is useful to figure this detail out, as it changes the sound dramatically.
By knowing that something is correct or it's wrong you immediately know that you can improve your instrument sound and that's why I think these tools are pretty good! They give you the possibility to understand if everything is correct and has the perfect position.
I hope you enjoyed this blog post,
See you in the next one,
Edgar

4 comments
I was interested in knowing what you think about the carbon bridge. Is it superior to a maple one?
Frances
HI Edgar , I just read this article. I was about to take on replacing a bridge on my daughters violin and the tips given are excellent. It was very helpful thanks. One thing I noticed that I’m sure you’d want to fix is the words “Criminal Italy” at the top of this page. I guess the spellchecker has never seen Cremona before. Kind Regards Colm
Colm
Hello Professor Edgar, I have watched many videos on your YouTube channel and I am really impressed by these great efforts. Thank you. I have a problem with my violin. When I measure the bridge side from the f hole, I find the measurement is 3 mm. Is the bridge wrong and should I carve the bridge from the last side of the bridge or should I change the bridge to fit 2 mm for the bass column? I hope you are well.
jawad
Thanks Edgar for your help and information. I watch your videos and eventually I will start building my own instrument here in Canada.
I can’t thank you enough for all your support and sharing of knowledge you have done on YouTube.
I would also like to ask you about your graduation punch that you sell. I cannot find it on your website. I sent you an email asking about it as well with a screenshot of it in one of your videos.
Please let me know if this is still available
Thanks again
Blake!!
Blake Dixon
Leave a comment
This site is protected by hCaptcha and the hCaptcha Privacy Policy and Terms of Service apply.