
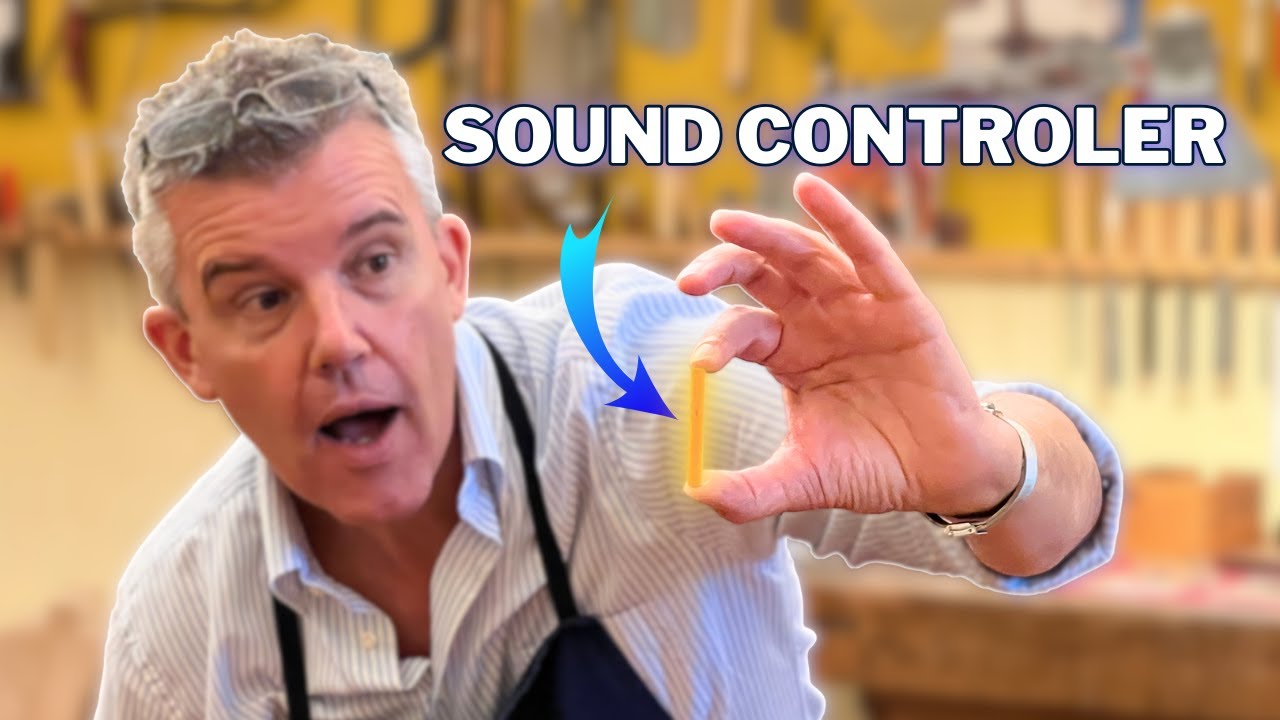
The essential detail of the Sound Post
Hello and welcome to my blog post where I tell you my tricks and tips on violin making.
I am Edgar Russ, violinmaker from Cremona and my mission is to create the best sounding instruments. In the meantime I am also trying to share my experience with my community!
Did it ever happen that you had difficulties to control the sound of your instrument while adjusting the sound post? And also that the sound post made exactly the opposite to what you where hoping? Here I will explain to you the reasons why it behaves like this!
Just to remember you: a well fitted sound post is a guarantee that you can adjust the sound of your instrument but it's not a guarantee for the best sound!
I know it sounds a little bit strange, but it could be that your violin sounds perfect and that you look inside at the sound post and discover that it is really bad adjusted and it's completely open along the side and it doesn't really look how it should be!
So then you start to adjust it but immediately you see that you have difficulties to move it or that it never stays in the position you decide. Another common issue is that you have a very strong E string… so you move the sound post away from the bridge and towards the tailpiece and then you play it with the strings up and surprise: the E string is stronger!
Those are clear signs that your sound post is not well fitted.
A perfect sound post should be out of spruce and the grain of the wood should be straight. There is no sense in having a sound post out of a piece of wood which has inclined grain inside!
So, first thing first, you need to try and have the grains as straight as possible in order for the vibrations from the top to go all the way down to the back.
Fun fact, years ago I actually made my own sound posts, now I think it is a waste of my time so I get them done with specific wood qualities and they cost immediately a little bit more, but are totally worth the price.
Now you have your sound post perfectly in the right wood and right grain and you need to adjust it.
By saying “adjusting the sound post”, I mean trying to capture the inclination of the top and the back and replicate it on the surfaces of the sound post that are touching your instrument. The difficult part is that the top and the back don’t have a straight surface: they are tilted on one angle and have a very particular shape.
When I adjust my sound post I use a chisel and something that surprises me is seeing people putting the sound post against the working bench and then working on it from one side. The problem with this technique is that the spruce will break on the other side and the wood chips could create some side effects on the sound.
With my chisel at hand I make the wood a bit wet and I put the sound post next to my body, to my torso, and I attach the chisel flat on it. By twisting the sound post I can then slightly take away material.
After a while you will notice that the surface is not any more flat: you need to double check using the flat edge of the chisel… usually it's not flat because in the middle you will more often than not have created a small bump! That bump needs to be taken away as well. You need to have a surface that is at the same time flat but also angled at the same degree as your top and back.
Remember once again: this is not a sound guarantee, it's a guarantee that the surface is straight so that when you put it inside the violin we won’t have many difficulties to put it in our correct sound post position.
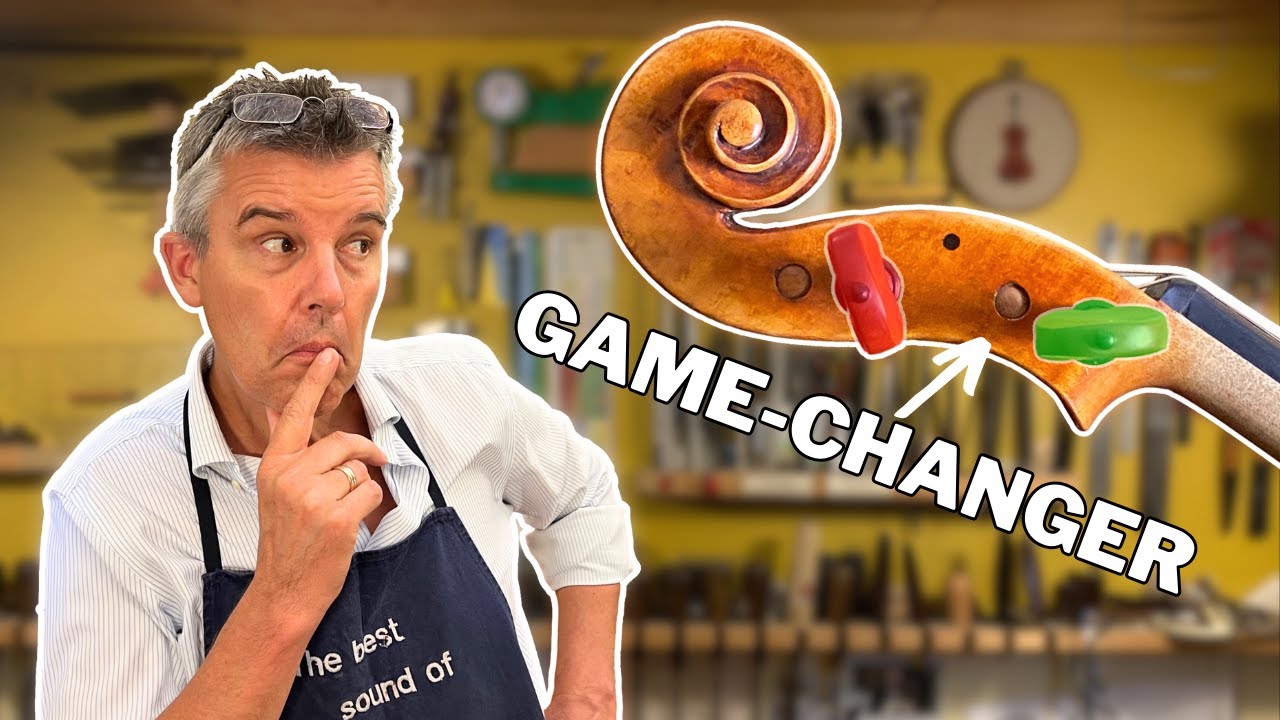
For those who want to make their own sound adjustment experience I created the sound adjustment kit which you can buy hare: https://www.violincellomaker.com/products/edgars-sound-adjustment-kit-for-violin-viola
In this kit you have everything that you need to adjust your sound post and set it into the right position!
So, remember: the surfaces of your sound post that touch the instrument’s top and back is tilted. A small tip could be using a guide to copy the degree of the angel from one side to the other and replicate it for another violin or instrument.
If you want more information about this subject I advise you to have a look at this YouTube video I created just for this problem.
And one last thing: the sound post will continue to move until it finds the perfect place where it is comfortable and not under pressure. So the surfaces are crucial in determining where it will go and if it will continue moving in the instrument.
This is a very important detail which actually I would love to see respected by all violin makers out there. They would have a better sounding result!
Why do you think they don't do it? Leave your message down below here and let me know what you think!
Thanks for reading this blog post,
Greetings from Cremona,
Edgar

Leave a comment
This site is protected by hCaptcha and the hCaptcha Privacy Policy and Terms of Service apply.